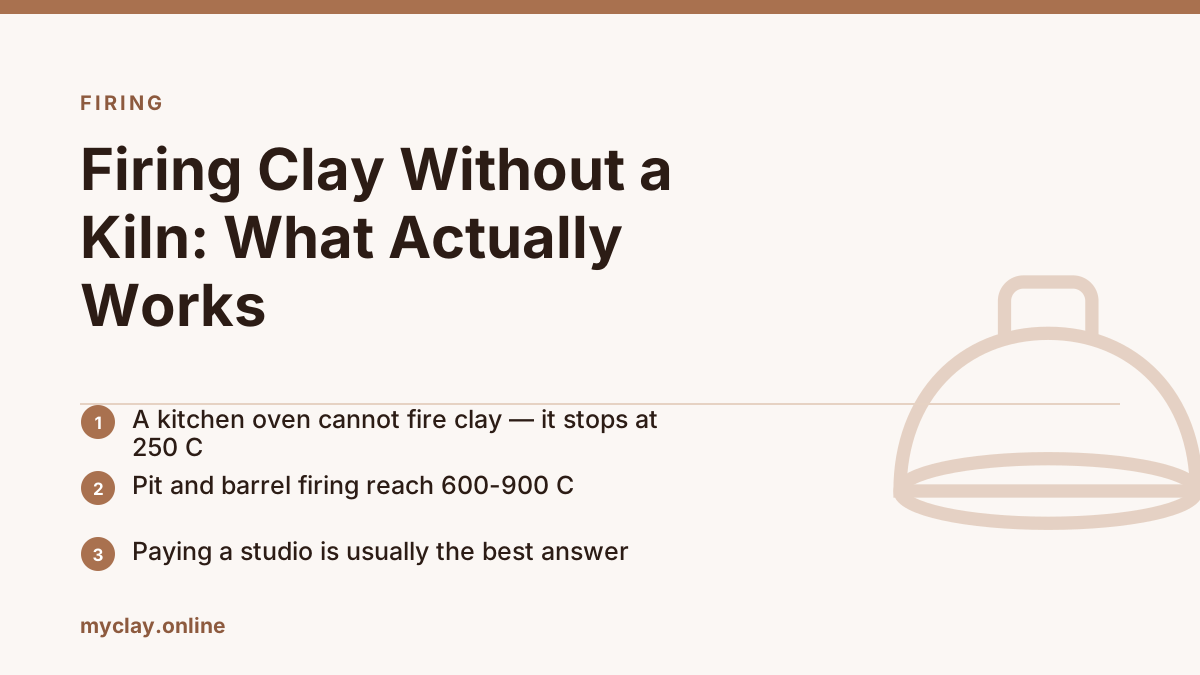
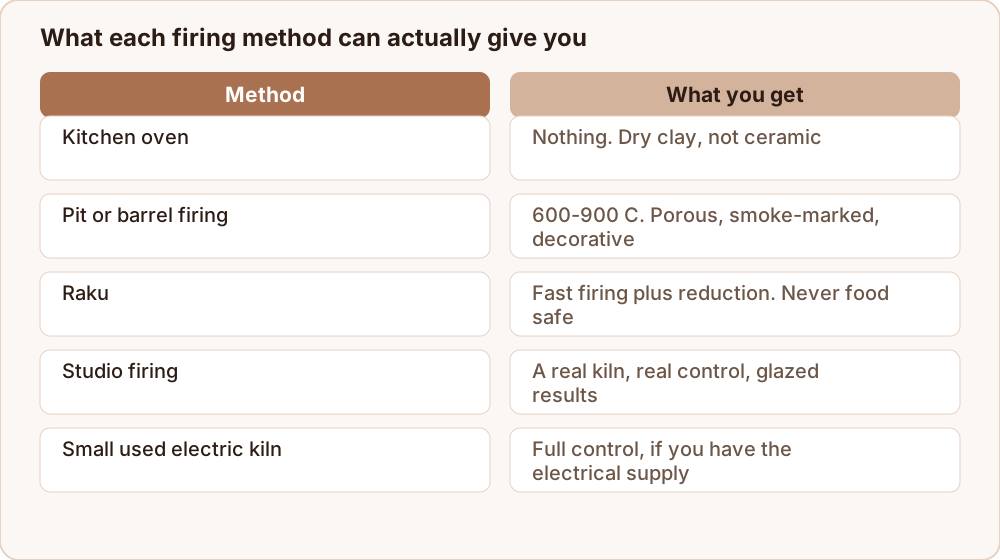
The honest answer first: a kitchen oven cannot fire clay. Clay becomes ceramic when it passes through sintering, which begins around 900–1000 °C. Domestic ovens reach roughly 250 °C. A pot baked in your oven is dry clay, not pottery, and it will soften and slump back into mud in water.
From the studio: The most common question I get asked in person is whether an oven will do it, and the disappointment when I say no is real. What usually cheers people up is finding out that most community studios will fire other people's work for the price of a couple of coffees, provided the piece is bone dry and properly made.
With that out of the way, there are real options.
Option 1: Pay someone (usually the best answer)
Community studios, art centres, schools and many independent potters will fire your greenware for a fee. This gets you a real kiln, real temperature control, and a glaze firing if you want one.
Two conditions come up constantly:
- They may require their own clay. A studio firing to cone 6 cannot safely include an unknown cone 04 body that might melt onto their shelves. Ask before you make anything.
- It must be bone dry and properly made. No sealed hollow forms without a pierced hole, no thick solid lumps, nothing still cool to the touch.
Option 2: Pit firing
The oldest method there is, and thoroughly achievable in a garden. Dig a pit, bed the pots in sawdust, build a wood fire over them, and let the whole thing burn down and cool slowly over 12–24 hours.
Reaches: roughly 600–900 °C. Gives you: porous, unglazed, smoke-blackened and flashed surfaces with beautiful greys, oranges and blacks from the combustible materials — sawdust, seaweed, banana skins, copper wire, salt. Does not give you: watertight, food-safe, or strong pottery.
Use an open, grogged clay body (raku or a heavily grogged stoneware). Pre-warm the pots at the fire's edge for an hour before they go in — cold, damp pots explode. Bring the temperature up gradually and, critically, let it cool on its own. Most pit-firing losses happen during a fast cool, not during the heating.
Option 3: Barrel or bin firing
A pit firing without the digging: a metal drum with air holes punched around the base, filled in layers of sawdust and pots, lit at the top, and allowed to smoulder downward for 12+ hours. Slower, more controlled, and easier to repeat than a pit.
Option 4: Raku
Raku uses a small kiln, so it is not strictly kiln-free, but the kiln can be a homemade one — a metal bin lined with ceramic fibre with a propane burner. Pots are pulled from the kiln glowing hot and dropped into a bin of combustibles, where the reduction produces metallic lustres and crackle.
Raku is genuinely dangerous without preparation: 1000 °C pots, open flame, thick gloves, a face shield, natural-fibre clothing, and an outdoor space with nothing flammable nearby. Learn it from someone who does it before you build anything. Raku ware is never food safe.
Option 5: Buy a small kiln
A used top-loading electric kiln is often surprisingly cheap because moving one is a nightmare. Before you buy, check the electrical supply — many need a dedicated circuit — and check the elements and bricks. A test-kiln-sized unit runs from a standard socket and fires plenty for jewellery, test tiles and small pieces.
If you cannot fire at all
Use materials that do not need it, and be honest about what they are:
- Air-dry clay for decorative pieces, sealed with acrylic varnish. Never watertight, never food safe.
- Polymer clay for anything small and durable — it cures in a home oven at 110–150 °C because it is a plastic, not a clay.
- Plaster or concrete casting where you want outdoor durability.
None of these is fired ceramic, and any pot that holds water for real is going to see a kiln first.
What a pit firing actually costs you in time
Pit firing sounds spontaneous and is not. Budget a full weekend for a first attempt.
| Stage | Time |
|---|---|
| Digging the pit and gathering fuel | 2–3 hours |
| Pre-warming pots at the fire's edge | 1–2 hours |
| Building up and burning down | 4–8 hours |
| Cooling, undisturbed | 12–24 hours |
| Cleaning the soot off the results | 1 hour |
The cooling is not optional and it is where most losses happen. Pulling pots from a warm pit because you want to see them is thermal shock, and thermal shock cracks work that survived everything else.
A few practical notes from people who do this regularly: use a heavily grogged or raku body, because an open body survives the fast temperature changes that would destroy a dense one. Bed the pots in sawdust rather than resting them on bare earth. Add combustibles for colour — copper wire, seaweed, banana skins, salt — tucked around rather than under the pots. And keep a bucket of water and a way of controlling the fire to hand, since an unattended open fire is a genuine hazard rather than a theoretical one.
Where to go next
Before anything goes into any fire, it has to be genuinely dry — drying pots evenly explains how to get there without cracks. If you decide against firing altogether, is modeling clay the same as polymer clay covers the materials that need no kiln. And if you are shopping for one, how much does pottery clay cost puts firing costs in context.
