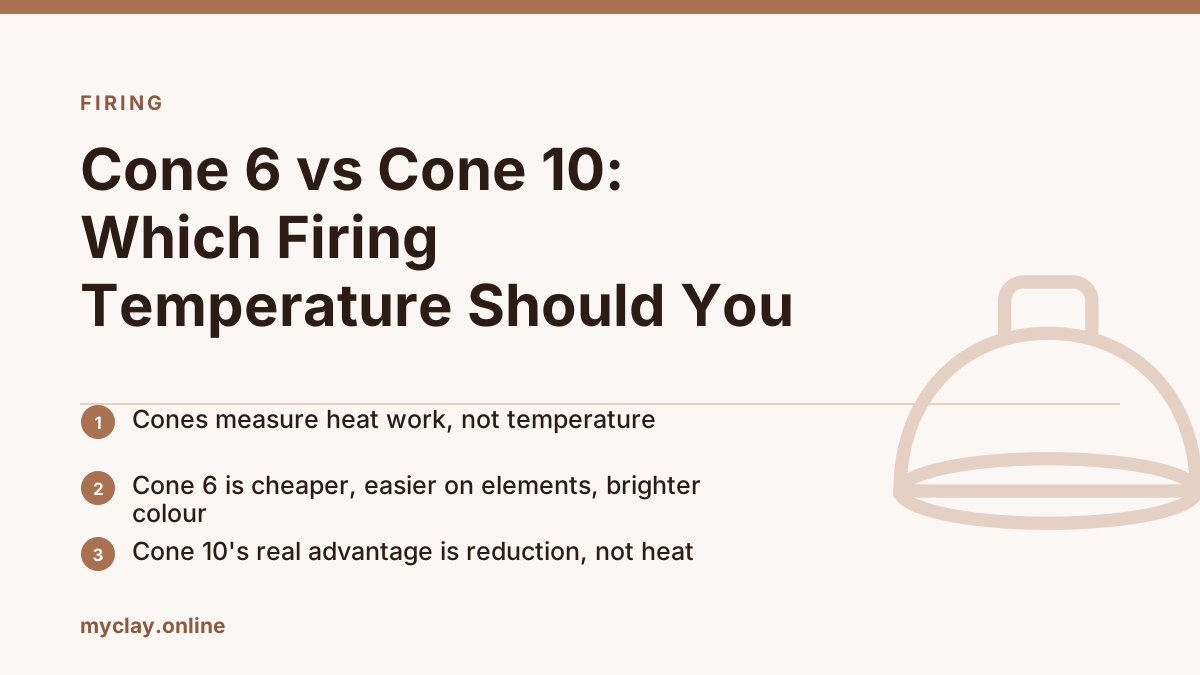
The cone number on a bag of clay is not a temperature, it is a measure of heat work: the combined effect of how hot the kiln got and how long it stayed there. A pyrometric cone bending at cone 6 has absorbed roughly the same total energy whether you got there quickly and hot or slowly and slightly cooler. This is why potters talk in cones and not degrees.
From the studio: The first time I put witness cones on every shelf instead of just the middle one, I found my bottom shelf was running nearly a cone cool. Every glaze failure I had been blaming on the recipe for months was really a loading problem, and a three-cone pack costing almost nothing told me in one firing.
The short version
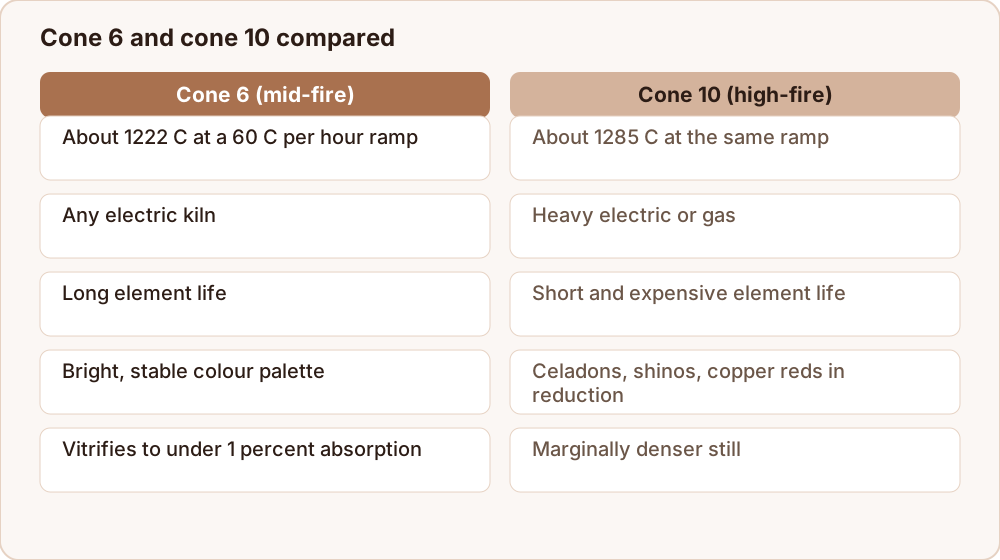
| Cone 6 (mid-fire) | Cone 10 (high-fire) | |
|---|---|---|
| Peak, 60 °C/h ramp | ~1222 °C | ~1285 °C |
| Typical kiln | Any electric kiln | Heavy electric or gas |
| Element life | Long | Short and expensive |
| Energy per firing | Lower | Roughly 25–40% more |
| Reduction atmosphere | Not in electric | Standard in gas |
| Glaze palette | Wide, bright, stable | Deep, subtle, celadons and shinos |
| Body strength | Strong when mature | Marginally stronger, denser |
Why most studios now fire cone 6
Twenty years ago, serious stoneware meant cone 10 and everything else was a compromise. That is no longer true. Mid-fire glaze chemistry caught up, and cone 6 has clear practical advantages:
- Every electric kiln does it. Cone 10 in electric requires expensive elements and a kiln rated for it, and even then element replacement becomes routine.
- Elements last far longer. Kanthal elements degrade rapidly at the top of their range. The difference between cone 6 and cone 10 firings can be several times the element life.
- Cheaper per firing. Less time above 1100 °C means measurably less electricity.
- Bright colours survive. Many stains and underglazes burn out above cone 6 — pinks, purples, bright reds and most yellows are more reliable at mid-fire.
- The bodies are genuinely vitrified. A cone 6 stoneware fired to maturity absorbs under 1% water. It is not a lesser pot.
Why people still fire cone 10
- Reduction. In a gas kiln you can starve the atmosphere of oxygen and pull oxygen out of the glaze and body chemistry instead. That is where copper reds, celadons, shinos and the deep iron saturates come from. You can get near-equivalents at cone 6, but not identical ones.
- Depth and variation. High-fire reduction glazes break over texture in a way that is hard to fully reproduce.
- Body toughness. Cone 10 porcelain in particular is denser and more translucent.
- Tradition and training. Many programmes teach it, and many potters' recipe books are in it.
Note that reduction, not temperature, does most of this work. An electric cone 10 kiln fires in oxidation and gives you the cost of high-fire without the reason for it.
Cones are not thermocouples
Your kiln controller reads a thermocouple, which measures temperature at one point at one moment. It does not know how long the kiln held there, and thermocouples drift with age — an old one can under-read by 20 °C or more.
Put witness cones on a shelf every firing, at least occasionally in each zone of the kiln. A three-cone pack (one below, target, one above) tells you at a glance whether you hit your cone and whether the kiln is even top to bottom. This is the cheapest diagnostic in ceramics.
Do not mix cones in one load
Firing a cone 10 body to cone 6 leaves it porous and weak. Firing a cone 6 body to cone 10 turns it into a puddle — mid-fire bodies bloat, slump, and can weld themselves to your shelf. Bisque firings are the exception: bisque temperature is independent of the eventual glaze cone.
Choosing, in practice
If you are buying your first kiln, or firing at a community studio, fire cone 6. The economics, the equipment and the modern glaze palette all point that way, and nothing you make will be worse for it.
Move to cone 10 when you specifically want a reduction effect you cannot get otherwise, and you have access to a gas kiln. Chasing the temperature without the atmosphere is paying for the expensive half of high-fire and skipping the interesting half.
What changes in practice when you switch
Moving between cones is not just a controller setting, and it helps to know what else moves with it.
Your clay body must change. A cone 10 body at cone 6 stays porous and weak; a cone 6 body at cone 10 bloats and can slump onto the shelf. There is no overlap to exploit here.
Every glaze recipe changes. Flux packages are chosen for a temperature window, so a cone 10 recipe fired at cone 6 comes out dry and unmelted. Reformulating is real work, not a substitution.
Your firing schedule changes. Mid-fire work often benefits from a slow cool through the range where crystals form, which affects matt and satin surfaces noticeably. Many disappointing cone 6 mattes are the result of a fast cool rather than a bad recipe.
Your test tiles do not transfer. A tile fired at one cone tells you nothing about the other, so a change of cone means rebuilding your tile wall from scratch.
None of this is a reason to stay where you are if the move is right. It is a reason to change once, deliberately, rather than drifting between cones and wondering why results are inconsistent.
Where to go next
Your cone decision constrains your clay, so read stoneware, porcelain or earthenware next. If you are choosing glazes to match, what is ceramic glaze made of explains why a glaze only works in a narrow window. No kiln yet? Firing clay without a kiln covers the realistic options.
