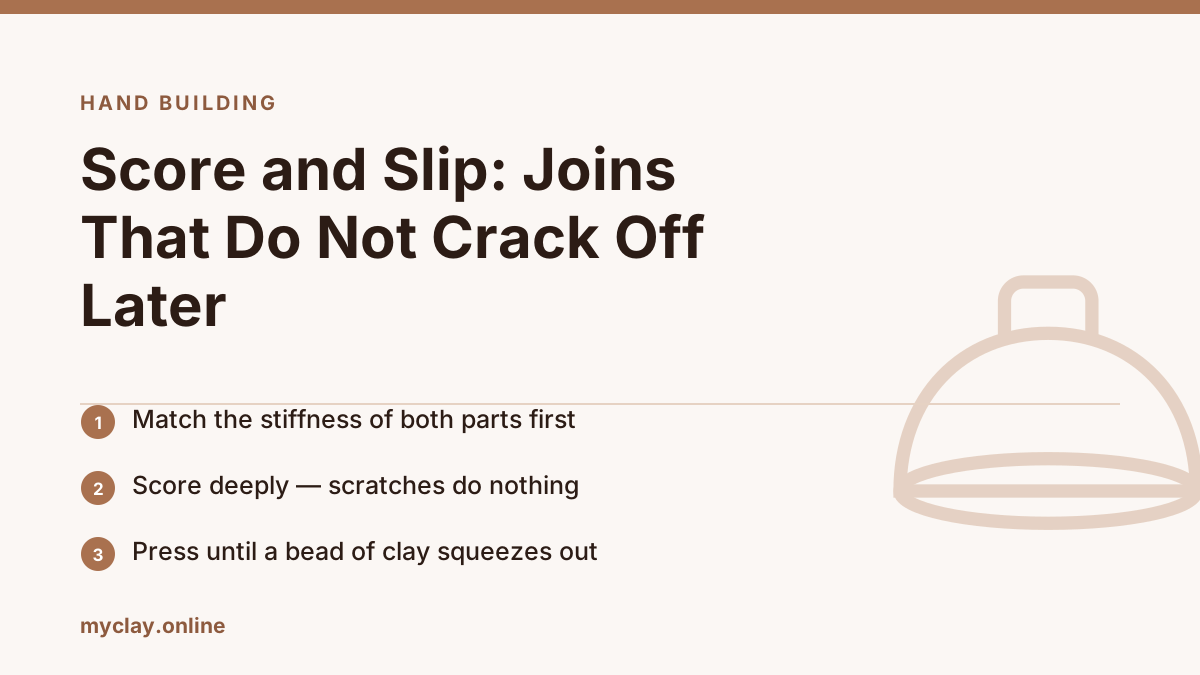
The join is where hand-built work fails, and it almost never fails at the moment you make it. It fails three days later, or in the bisque, because the two parts were at different moisture levels and shrank by different amounts.
From the studio: Every handle I lost in my first year came off between three days and two weeks after I made it, never at the moment of attaching. Once I started letting handles stiffen for half an hour before attaching them, instead of putting them on straight from the pull, the failures simply stopped.
The rule that matters most
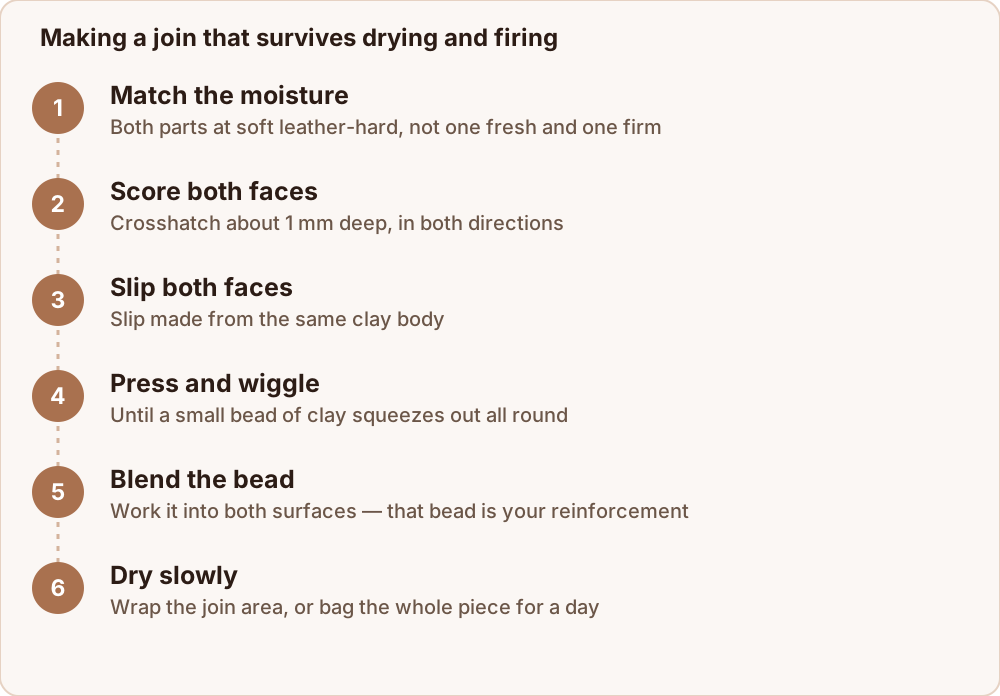
Both parts must be at the same stiffness, ideally soft leather-hard.
A freshly pulled handle contains far more water than a mug wall that has been sitting for two hours. The handle will shrink several percent more than the wall it is stuck to, and it pulls itself off. The join looks perfect the day you make it.
The fix is to let the handle stiffen — hang or lay it out for 20–60 minutes until it holds its curve without sagging — and to keep the mug from getting ahead of it. If the mug is already firm, wrap it and let it equalise, or wrap the whole assembly and give it a night.
The method
- Score deeply. Crosshatch both faces with a needle tool, a serrated rib, or a fork. Shallow scratches do nothing. You want grooves you can feel, roughly 1 mm deep, in both directions. The point is mechanical key and surface area.
- Apply slip to both faces. Use slip made from the same clay body — a scrap of your clay mashed with water to a thick cream. Slip from a different body shrinks differently and cracks along the seam.
- Press and wiggle. Push the parts together firmly with a slight twisting motion until a small bead of clay squeezes out around the join. That bead is your proof of full contact. No bead means air is trapped in there.
- Blend the bead. Work it into both surfaces with a wooden tool or a fingertip. Do not wipe it away — that is your reinforcement.
- Reinforce inside corners. For slab boxes, press a thin coil into every interior seam and smooth it in. That fillet stops the sharp corner from acting as a crack initiator.
- Dry slowly and evenly. Wrap the join area in a strip of plastic, or bag the whole piece loosely for a day. Thin parts — handles, spouts, lugs — always want to run ahead of the body.
Handles specifically
- Pull the handle, do not roll a coil. Pulling aligns the clay particles along the length, which makes the handle stronger and gives it a natural taper.
- Attach the top first, then curve down and attach the bottom, so the handle hangs in a shape it wants to hold rather than being forced.
- Support the loop while it stiffens — a rolled-up piece of foam or a wad of newspaper inside the curve prevents sag.
- Dry the mug upside down on its rim so the handle and the rim, both thin, dry at a similar rate to the base.
Paper clay changes the rules
Adding cellulose fibre to clay gives you enormous green strength and lets you join wet clay to bone dry clay, or even to bisque, with no cracking. The fibre burns out in the firing and leaves a slightly more porous body. For complex sculpture, repairs on dry work, and anything with delicate attachments, paper clay is not a shortcut — it is the correct tool.
You can make it: blend toilet paper or shredded newsprint into a slurry, wring it out, and wedge 10–25% by volume into your clay. Mix small batches; wet paper clay grows mould within a week and starts to smell, though that has no effect on the fired result.
Diagnosing a failed join
Clean separation, both faces smooth — you did not score, or you did not score deeply enough. A hairline crack around the perimeter but still attached — moisture mismatch. The parts shrank apart. Cracks radiating out from the join into the wall — the attached part was too stiff and put the wall in tension, or you pressed hard enough to stress the wall. Fails only after the glaze firing — a thermal expansion mismatch, not a join problem. Check that any slip or glaze in the seam belongs to the same firing range.
A checklist for the joins that fail most
Some attachments are simply harder than others, and it helps to know which need extra care.
Mug handles. The classic failure. Let the pulled handle stiffen for 20 to 60 minutes before attaching, dry the mug upside down on its rim, and wrap the handle in a strip of plastic for the first day.
Teapot spouts. Same rules, plus the spout must be at the same stiffness along its whole length — a thin tip firms up long before the thick base does. Cut the strainer holes before attaching, never after.
Slab box corners. Reinforce every interior seam with a thin coil pressed in and smoothed. A sharp inside corner concentrates stress and is where cracks start.
Feet and pedestals. Attach at leather-hard, and make sure the foot ring is not appreciably thicker than the wall above it, or it will dry last and pull.
Sprigs and small decorations. Easy to attach, easy to lose. They are thin, so they dry fast — tent them along with the piece.
In every case the underlying rule is the same one: match the moisture, score deeply, and slow the thin part down.
Where to go next
The slip you use matters, and how to make slip for pottery gives the three consistencies. For why the moisture match is non-negotiable, see the stages of clay. And if the join survived but the piece cracked anyway, the fault is in the drying — drying pots evenly.
