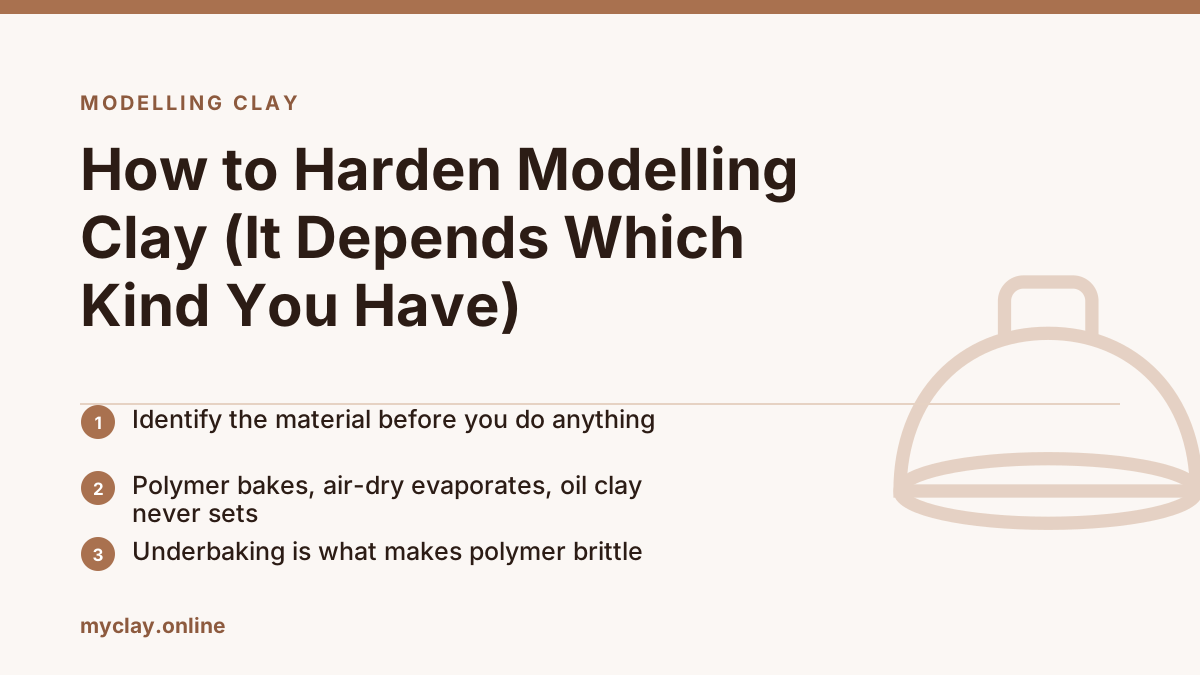
Before anything else: work out which material you actually have. The three common types harden by completely different mechanisms, and one of them does not harden at all.
From the studio: Almost every brittle polymer piece I have been shown was underbaked rather than overbaked, and the give-away is a clean chalky break. Rebaking those pieces for a proper hour at the right temperature fixes most of them, which surprises people every time.
- Packet mentions an oven temperature and a brand like Fimo or Sculpey → polymer clay.
- Packet says air-dry or self-hardening → air-dry clay.
- Packet says non-hardening, reusable, or oil-based, or gives no instructions at all → plasticine, and it will never harden.
Polymer clay: bake it
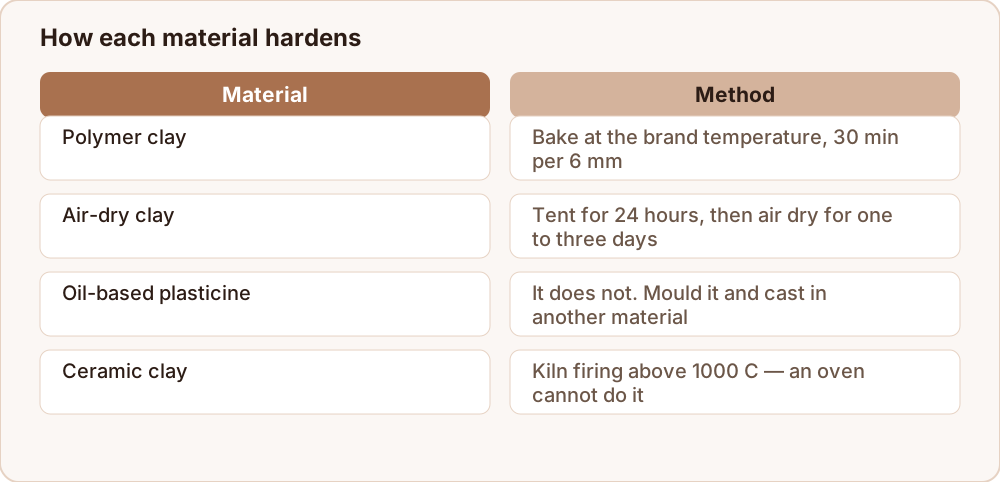
Polymer clay cures when the PVC particles fuse, which happens at a specific temperature.
Temperature: follow the brand. Fimo Professional is around 110 °C, Sculpey III and Premo around 130 °C, Kato around 150 °C. Going hotter does not speed it up; it scorches the surface.
Time: at least 30 minutes per 6 mm of thickness, measured at the thickest point. The 15 minutes some packets suggest is a bare minimum and produces weak results. An hour at the right temperature does no harm at all.
Two things that fix most problems:
- Use an oven thermometer. Domestic ovens swing 20 to 40 °C around the dial, and scorching begins near 175 °C. Set the dial by what the thermometer reads, not what the knob says.
- Tent the piece with foil. This blocks the direct radiant heat from the element that browns edges while the centre is still curing.
Bake on a ceramic tile with a sheet of paper on top, on the middle rack. Let the piece cool completely before judging it — polymer clay is soft and flexible while hot and reaches full strength only when cool.
If it snaps easily and the break looks chalky, it was underbaked. Rebake it. Extra curing is not a problem.
Air-dry clay: let it evaporate, slowly
Air-dry clay hardens as water leaves. You cannot rush this without cracking the piece.
Timing: 24 to 72 hours for work under 1 cm thick, up to a week for thicker or hollow-built pieces. It is dry when it feels the same temperature as the room against your cheek rather than cool.
The technique that prevents cracks: tent the piece loosely with a plastic bag for the first 24 hours, then uncover it. Cracking happens when the outside shrinks before the inside does, and slowing the first day lets the core catch up.
Also:
- Keep walls under about 1 cm, and hollow anything thicker over a foil core.
- Dry on a wire rack or a piece of drywall, not on a plastic table, so the base loses water too.
- Turn the piece once a day.
- Keep it away from radiators, direct sun and fans. Heat dries the surface only.
To make it stronger and water-resistant, seal it once fully dry with several thin coats of acrylic varnish, acrylic medium or diluted PVA, covering every surface including the base. It will still never be waterproof or food safe.
Oil-based clay: it will not harden
Plasticine, Monster Clay, Chavant and similar professional oil clays contain no water and no curing polymer. They are designed to stay workable indefinitely, which is exactly why animators and prop sculptors use them.
Nothing changes this. The oven softens them into a mess. The freezer firms them temporarily and they soften again at room temperature. Varnish sits on the surface and traps soft clay underneath.
If you have made something in oil clay and need it permanently:
- Take a mould. Silicone rubber over the sculpture, then cast the mould in resin, plaster or wax. This is the professional route and the reason oil clay is used in the first place.
- Remake it in polymer clay, using the oil clay version as a reference.
Ceramic clay: it needs a kiln
Pottery clay hardens permanently only above about 1000 °C. Drying it in air produces a piece that looks finished and dissolves in water, and a domestic oven, which tops out near 250 °C, does not come close.
Without a kiln, either pay a studio to fire the work, or use air-dry or polymer clay for anything that has to survive as it is.
How to tell when each one is genuinely done
Guessing is what produces brittle polymer pieces and cracked air-dry ones, and each material has a reliable test.
Polymer clay. Let it cool completely first — hot polymer clay is soft and flexible and tells you nothing. Once cool, press a fingernail into a hidden area: properly cured clay resists and leaves at most a faint mark. Try to flex a thin edge. Cured clay bends slightly before it breaks; underbaked clay snaps cleanly with a chalky, matt break face. Anything that fails these can simply be rebaked.
Air-dry clay. Hold it against your cheek. Damp clay feels distinctly cool, because evaporation is still pulling heat out of it. Bone dry clay feels the same temperature as the room. The colour is also a guide: it lightens noticeably and evenly as it dries, and any darker patch is still holding water.
Oil-based clay. There is nothing to test, because it never sets. If it feels firm, the room is cold.
In all three cases, the mistake is judging too early. Give a piece an extra day, or an extra twenty minutes of cooling, before you decide it has failed.
Where to go next
For the oven detail, see baking polymer clay without burning. For air-dry work, why air-dry clay cracks covers drying without splitting the piece. And if you have real pottery clay, firing clay without a kiln sets out the honest options.
