Polymer clay is PVC particles suspended in plasticiser. Baking does not "dry" it — it fuses the particles into a solid mass. That process needs a specific temperature held for a real length of time, which is why the two failure modes are opposites: scorched outside (too hot) and snaps in your fingers (not long enough).
From the studio: I ruined three pieces in a row before buying a five-pound oven thermometer. My oven, set to 130 C, was peaking at 168 C every time the element cycled — comfortably close to scorching. The dial was not lying exactly, it was just describing an average I could not see.
Your oven is lying to you
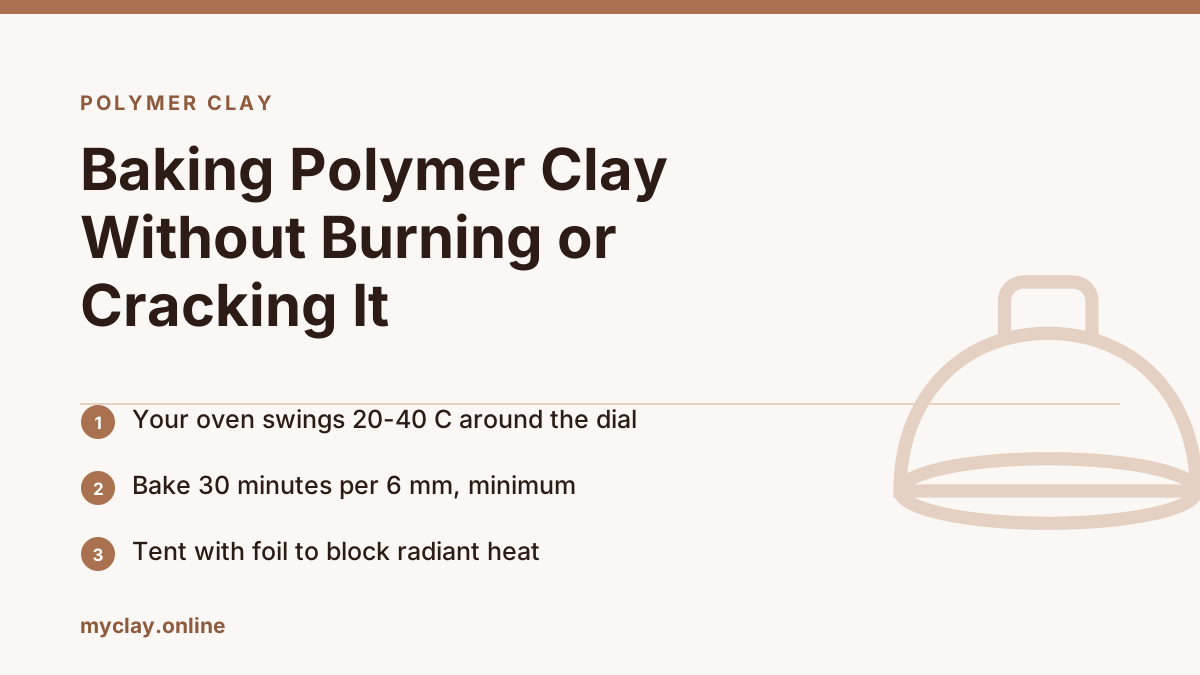
A domestic oven set to 130 °C typically cycles between roughly 110 °C and 155 °C as the thermostat switches the element on and off. Polymer clay scorches somewhere around 175 °C. The set point is fine; the swing is what burns your work.
Buy an oven thermometer. A cheap dial thermometer sitting next to the piece is the single most useful polymer clay tool there is. Preheat properly, let the reading stabilise, and adjust the dial until the thermometer reads what you want — not what the knob says.
Temperature and time
Follow the brand on the packet; they genuinely differ:
| Brand | Typical temperature |
|---|---|
| Sculpey III | 130 °C |
| Premo | 130 °C |
| Fimo Professional | 110 °C |
| Cernit | 130 °C |
| Kato Polyclay | 150 °C |
Time is where people go wrong. The common "15 minutes" on the packet is a minimum, not a target. Use at least 30 minutes per 6 mm of thickness, and measure thickness at the thickest point. An hour at the correct temperature harms nothing and produces a far stronger piece. Underbaked polymer clay is weak, chalky and snaps cleanly — that is the signature.
Stopping the scorching
Heat reaches your piece three ways: hot air, conduction from the tray, and direct infrared from the element. The last one is what burns edges and thin points brown while the middle is still curing.
- Tent it. Cover the piece with an inverted foil tray or a loose foil tent. This blocks radiant heat and evens out the air temperature dramatically. It is the fix for nine out of ten burning problems.
- Insulate the tray. Bake on a ceramic tile with a sheet of plain paper or cardstock on top. Tile evens out heat; paper prevents shiny flat spots.
- Stay off the top rack. Middle rack, always.
- Skip the fan if your oven's convection setting blasts. Gentle convection is fine and actually evens things out; aggressive fans dry surfaces.
Supporting shapes
Polymer clay softens slightly before it cures, so unsupported thin arms and overhangs droop. Bed delicate pieces in cornstarch, polyester fibrefill, or a nest of foil while they bake. All three brush off afterwards.
Cooling and finishing
Let the piece cool completely before you judge it. Polymer clay is flexible and disappointingly soft while hot, and reaches full strength only when cool — plenty of people rebake perfectly good pieces because they tested them at 100 °C.
Once cool, you can sand wet with 400 through 1500 grit, buff on a soft cloth for a natural sheen, or apply a compatible varnish. Do not use nail polish or generic craft varnishes: many react with the plasticiser and stay tacky for years.
Troubleshooting quickly
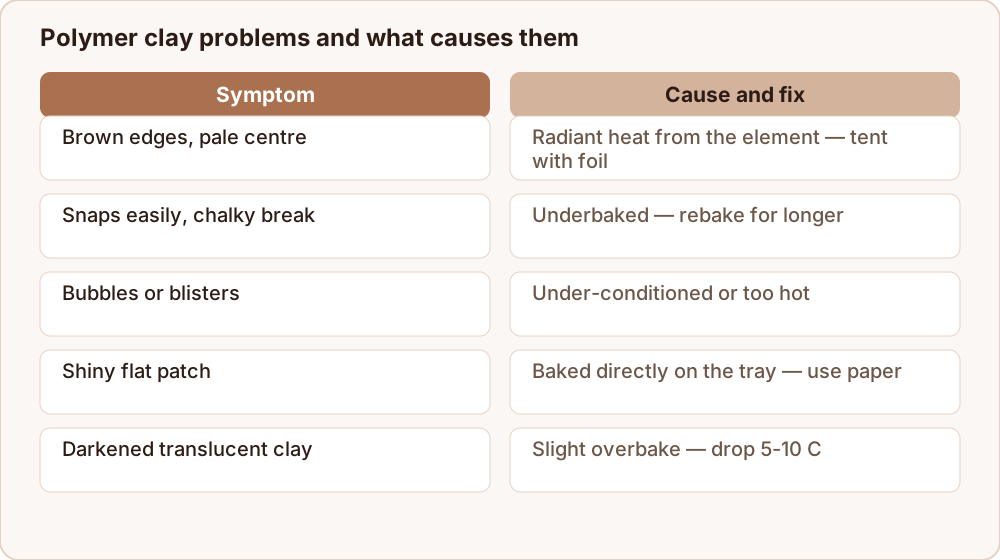
| Symptom | Cause | Fix |
|---|---|---|
| Brown edges, pale centre | Radiant heat from the element | Tent with foil, move down a rack |
| Snaps easily, chalky break | Underbaked | Rebake for longer at correct temperature |
| Bubbles or blisters | Air trapped during conditioning, or too hot | Condition thoroughly, roll out trapped air, lower temperature |
| Shiny flat patch | Direct contact with the tray | Bake on paper or cardstock |
| Darkened translucent clay | Slight overbake — translucents darken first | Drop 5–10 °C, tent, use them as your canary |
| Sticky surface after varnishing | Incompatible varnish | Remove with rubbing alcohol, use a polymer-specific finish |
Conditioning is half the battle
Under-conditioned clay bakes weak no matter what the oven does. Work each block until it is uniformly soft and pliable — by hand for five to ten minutes, or run it through a pasta machine on the thickest setting, fold, and repeat twenty times, folding the same way each time so you do not trap air. Well conditioned clay stretches before it tears; badly conditioned clay crumbles at the edges when you fold it.
A reliable baking routine
Once you have an oven thermometer, the rest is a routine you can repeat without thinking.
- Preheat properly and give the oven ten minutes past the beep to stabilise. The thermostat overshoots badly during the initial climb.
- Check the thermometer, not the dial, and adjust until the reading matches the brand's temperature.
- Set the piece on a ceramic tile with a sheet of plain paper under it, on the middle rack.
- Tent it with an inverted foil tray or a loose foil dome.
- Support any overhang with cornstarch, polyester fibrefill or crumpled foil.
- Time it from when the oven is back at temperature, not from when the door closed — opening the door drops it by 20 °C or more.
- Bake 30 minutes per 6 mm at the thickest point, and round up.
- Let it cool in the oven with the door shut, then judge it cool.
The two steps people skip are the tent and the cooling, and between them they account for most of the burnt edges and most of the pieces wrongly declared underbaked.
Where to go next
If the piece is bigger than a coin, build it over an armature first — how to sculpt with polymer clay covers that and the bake-in-stages technique. For storing what is left of the block, see how to store polymer clay. And if you are still deciding which material you need, is modeling clay the same as polymer clay settles it.
